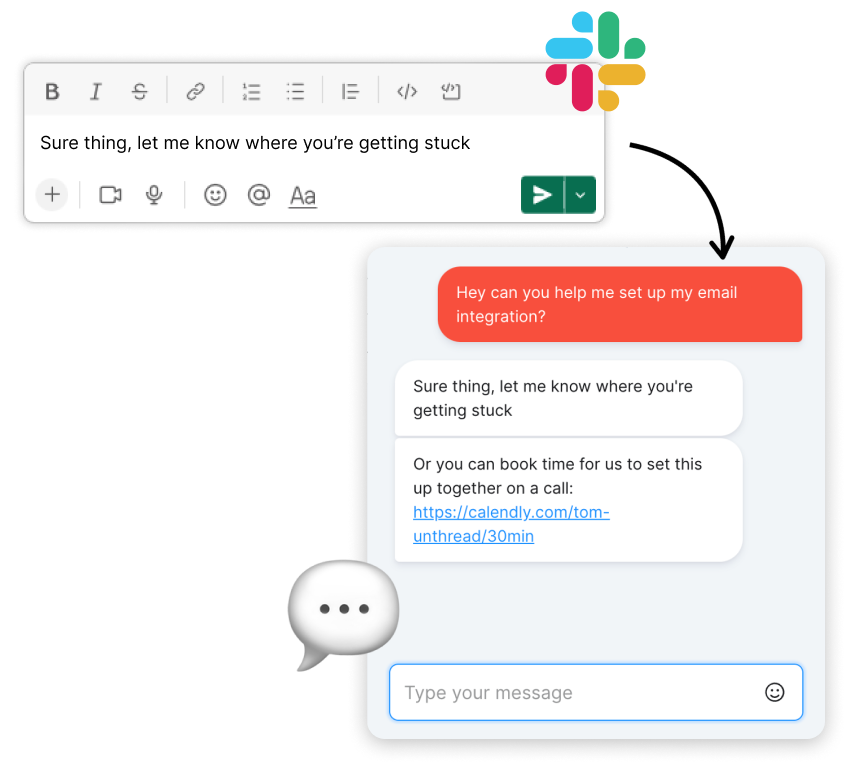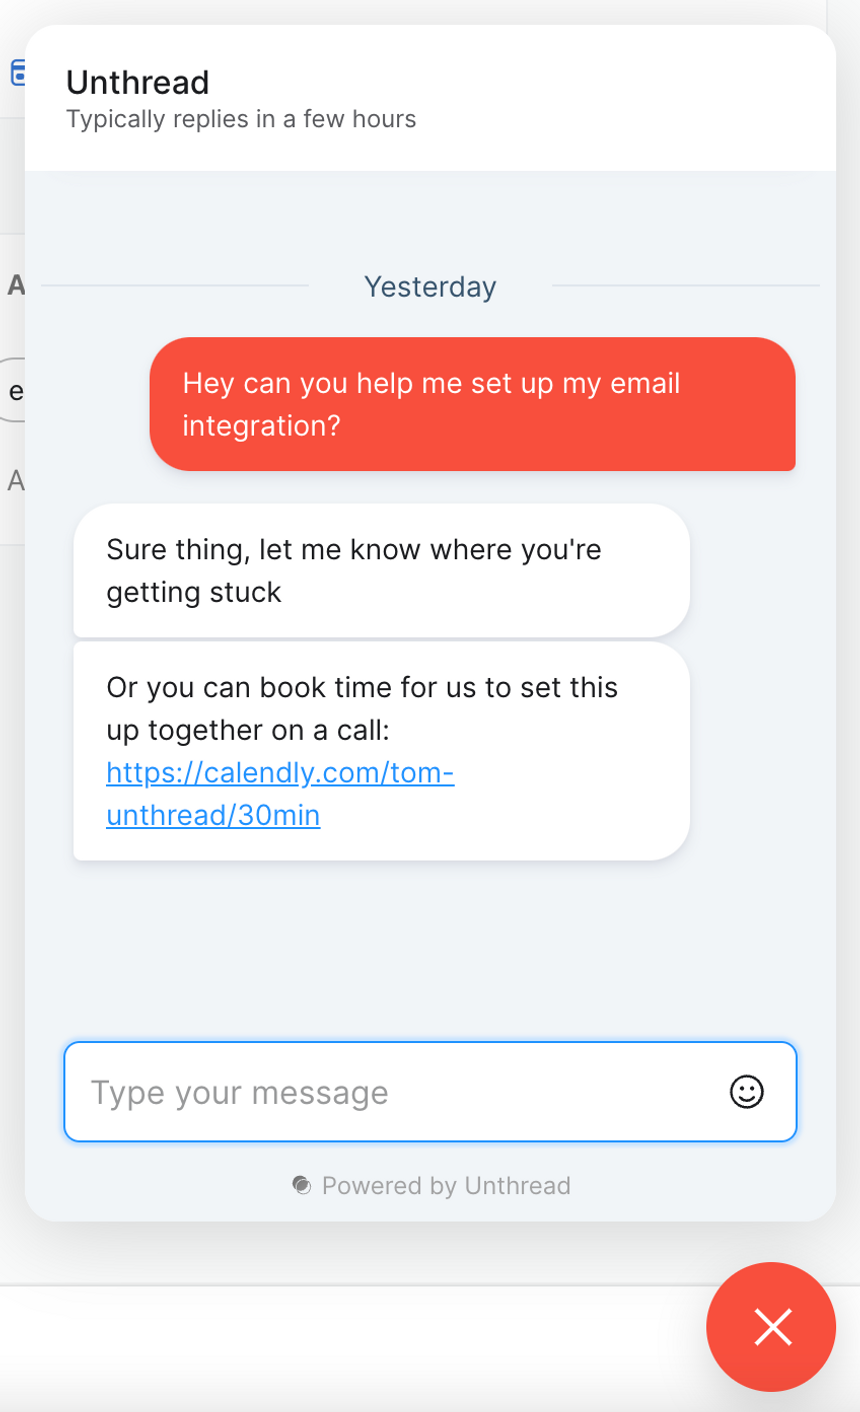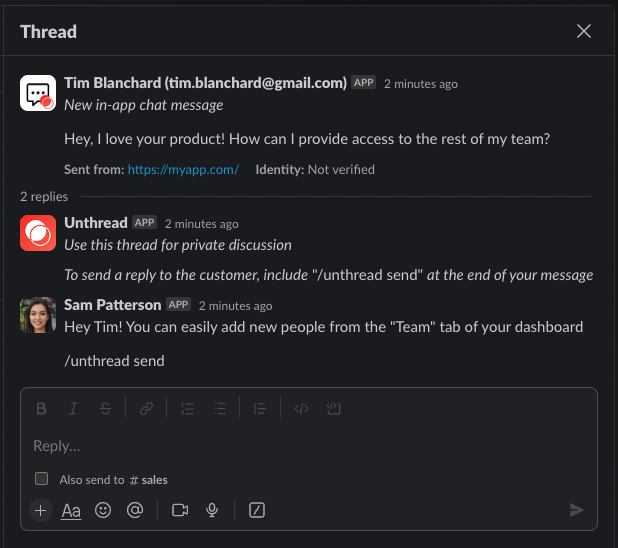
How it Works
Live Chat on Your Site

Creating Slack Thread

Automations
You can leverage the existing powerful functionality of Unthread:- Reply or add internal notes from your inbox
- Enable assignment rules and SLAs
- Set up an automated response for all new messages
- Automatically apply tags based on question type
- And more…
Continuing via Email
If the user hasn’t read your message within 5 minutes (meaning they may have left the page), then we will automatically send your reply via email. Users can reply to that email to continue the conversation seamlessly.Get Started
There are a few steps to setup the chat widget:- Enable and configure the widget
- Add the widget code to your website
- (Optional) Verify the identity of logged in users
Configuring the widget
- Sign in to your Unthread dashboard and navigate to “Channels” → “In-App Chat”.
- On the settings page, you can customize the appearance of the chat widget, including the color and position on your website. You can also customize the greeting message that appears when a user first opens the chat. These settings can be modified later.
- Select a channel that chat messages will be posted to in Slack.
- Add assignment and escalation rules.
- Once you have customized the chat widget to your liking, click on the “Enable” button to generate the code that you will need to add to your website. This will also generate an identity verification secret. See below for how to use this to verify user identities.
✨ Configuration settings can be updated remotely without changing any code on your site!
Adding to Your Site
- Copy the auto-generated code and paste it into the HTML of your website. The
code should ideally be placed within the
<head>tag of your website. - The widget will be hidden by default. In order to show it, you will need to
run the following Javascript code somewhere on your website:
- This code can either be run immediately after the auto-generated snippet or you can wait to run it, for example after the user has logged in.
- If you have a CSP, you’ll want to add
https://YOUR_SUBDOMAIN.unthread.ioto- script-src
- connect-src
- frame-src
- The widget should now be visible and ready for use. By default, new users will be asked to provide their name and email address before they send their first message.
- Optionally, you can pass details about the user when starting up the widget.
When starting up the widget, pass a user object in the start call:
- This will automatically set the name and email of the user. They will not be prompted to enter those fields themselves when they open the widget.
- If you want to clear the chat history when a user logs out, run the following
Javascript code on logout:
Verify the Identity of Logged In Users
- For added security, you can also verify that the email address actually belongs to the user. This will require the identity verification secret that was generated on the widget settings page. You will also need to be able to modify the server side code of your website.
- Copy the identity verification secret and put it somewhere secure that is accessible by your website’s server. This secret should never be exposed on the frontend of your website because it can be used to impersonate other users.
-
When a user logs into your website, you will use the secret to generate an
HMAC of the user’s email address. See below on how to generate the HMAC. The
HMAC should be generated on your server and sent to your frontend as part of
the login process. The HMAC will be passed as part of the user object passed
to the start call.
-
Never send sensitive information to unverified users.
Generating the HMAC verification hash
How you generate the HMAC verification hash depends on what language you use on your server. Here are some examples in different languages: Javascript (Node.js)PHPRubyPython
Using the Unthread SDK
In addition tostart and stop there are few more functions available in
the Unthread SDK:
Toggle the visibility of the chat window:
Sessions and Message History
If the user has been verified, their full chat history will be available the next time they login to your website. If the user has not been verified, their chat history will only be available within their current chat session. The chat session lasts 1 week from the user’s last activity within the chat. If the user is idle for more than 1 week, their history will be cleared. Additionally, if you call thestop function in the SDK or the user clears
their cookies, their chat history will also be cleared.
🍪 Speaking of cookies: the widget only uses first-party cookies, meaning they cannot track users across different website and are more privacy-centric.

